If you just want to jump ahead to my recommendations for a single key light LED system click here. Or if you want to understand why I have shifted to this setup continue reading…
When I first started creating videos for my courses several years ago, I had a very specific idea of the type of video that I believed I needed to create. I have always liked the clean and professional look of the minimalist videos with the pure white background where the subject seemed to just float in the frame. To produce this type of video shot I purchased a 3 piece lighting kit to set up the standard 3 point lighting format and then learned I needed two more lights to wash out the background and get the effect that I wanted (see post – Dwayne’s DIY Video Setup – Part 2 Lighting & Background). I also learned that this type of lighting requires a lot of space so by the time I set up my 10-foot wide background my video set up took up most of the space in our living room. It took 45 minutes to get everything in place so setting up and tearing down used up almost an hour and half of my time which I just didn’t have to spare. I stopped using the 5 point lighting system needed for the pure white background and shifted to using my white curtains in our living room and a more conventional 3 point lighting system. I talk about these lighting methods in the post – Dwayne’s DIY Video Setup – Part 2 Lighting & Background. While not having to set up the background and addition lights for the 5 point lighting format saved me about 10-15 minutes it still took a lot of time and also took up most of the space in our living room which interrupted daily life. I just couldn’t leave the lights, camera, and tripod up which means I had to plan out when I was shooting the videos and schedule my video recording when the house was empty which is not an easy task with 4 adults who work from home. If I had to re-shoot a video it made the most sense to do it on the same day to save setup and tear down time, so shooting videos became a bit of all-consuming process.
The time and the trouble that these videos were taking started to make me think about more efficient ways to set up and shoot videos in such a way that I could reduce the setup time and the physical space. Moving to LED lighting would be the logical move to save space on equipment setup so I started to explore ways I could use smaller LED lighting that I could leave up in my small office/workspace. As I have mentioned in other posts North Vancouver is one of the most expensive places to live in Canada so I don’t have a spare room I can use as an office. I am actually just working out of a corner our open concept living room so I have to be creative with my video setup.
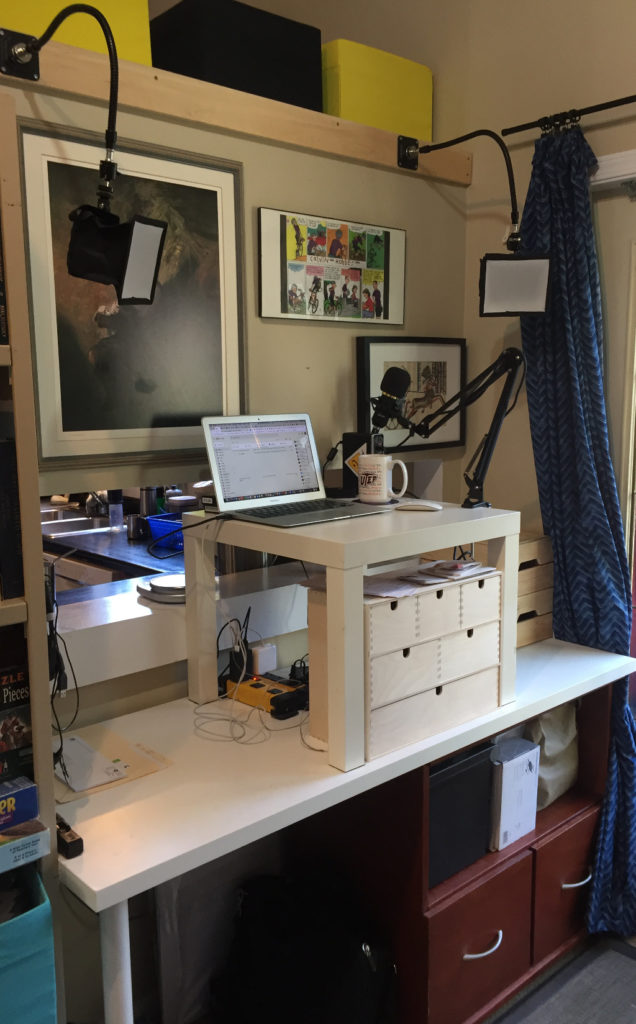
I have also shifted my vision on the type of image or message I want to convey in my videos. Since I firmly believe my role is to help my learners learn how to learn I see myself as a learning facilitator, coach, and mentor, so I really don’t need to convey the perspective of being a video professional and the floating white background or other more studio focused perspective isn’t necessary. One could also argue that this look was actually contrary to my goal of being a coach and mentor. I can have bookshelves, pictures or other aspects of my workspace in the video frame because that is part of who I am. Over the past few years I have noticed a more conversational trend and shooting style on YouTube, so moving to this type of a video setup has enabled me to explore options that would allow me to keep my lighting and other production equipment set up on a more permanent basis. I have also been doing hundreds of desktop videos with an embedded headshot for student feedback so the coaching style headset that I use for these videos and minimal background has required minimal lighting. I have replaced some of the overhead lights in my workspace with daylight 6500K lights when combined with the natural light coming in from the patio doors I have enough light for these feedback videos.

I also shifted from the 3 point lighting system to a two-point system and now I am making a final shift to a single key light that is highly diffused. After experimenting with diffusion material draped in front of my main LED key light and a couple of full-size softbox options I have found a solution that gives me the soft lighting I want, is very easy to set up and has the added bonus of being inexpensive.
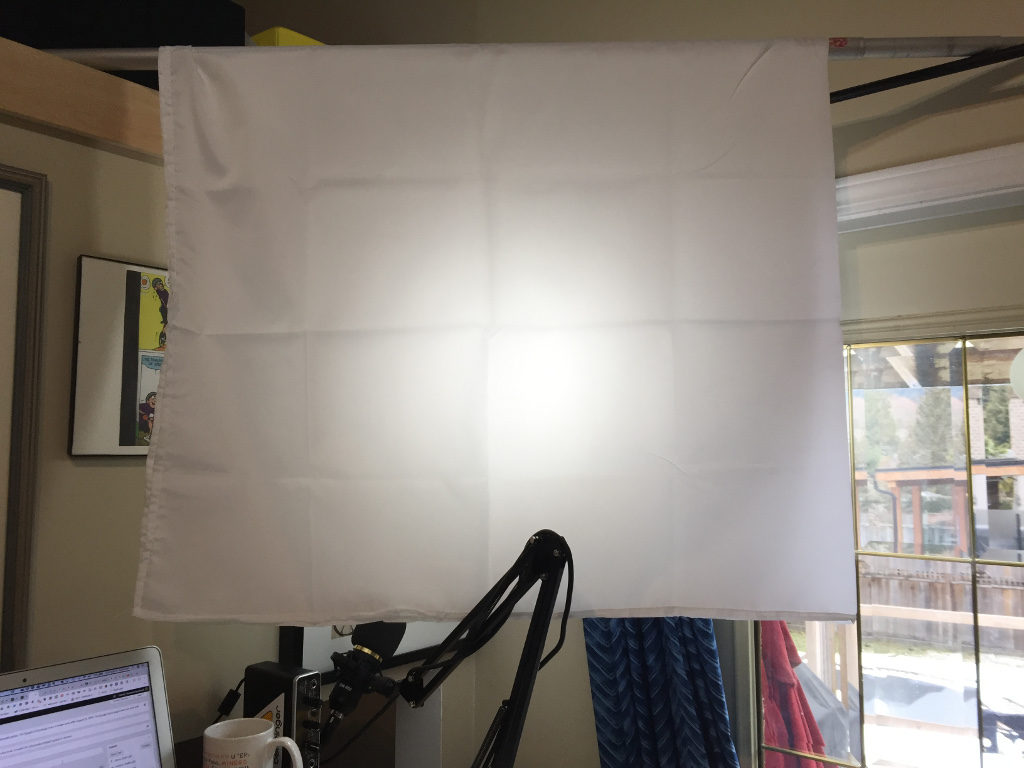
My final goal is to use one full-sized LED-based softbox as the key light for my videos that I can leave this light up all the time and simply turn it on when I need to shoot.

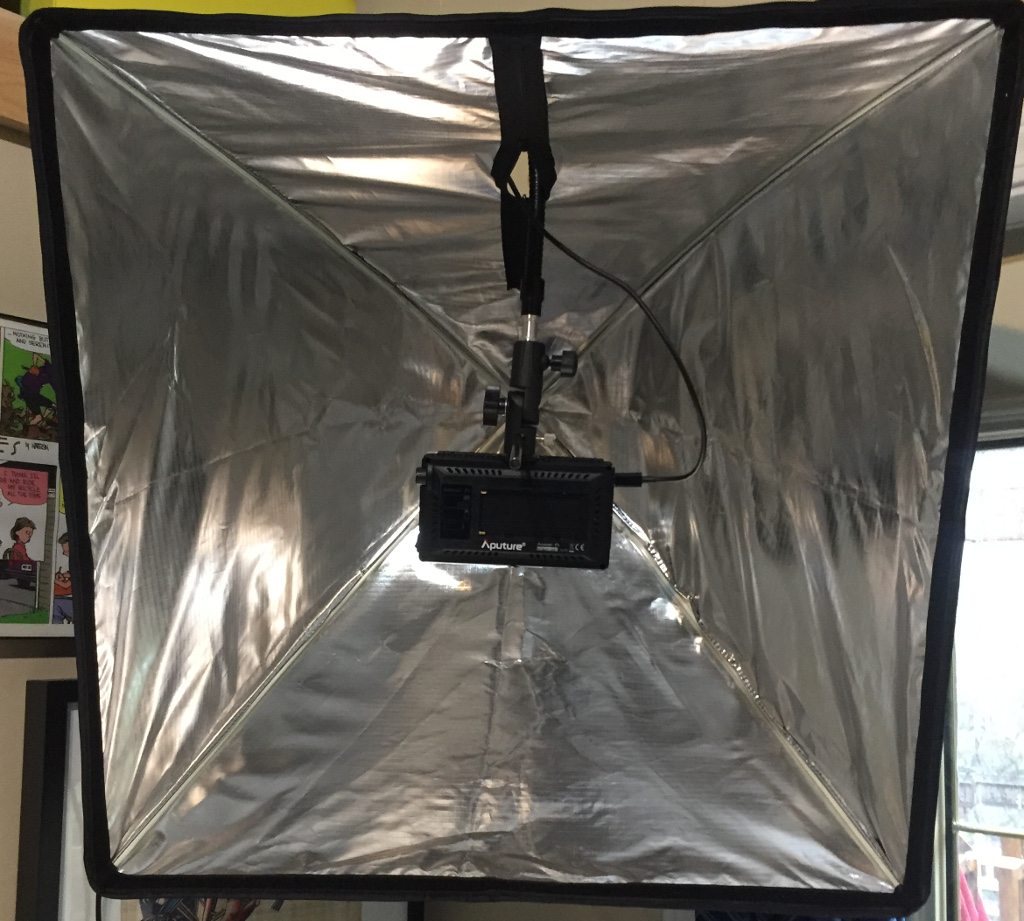
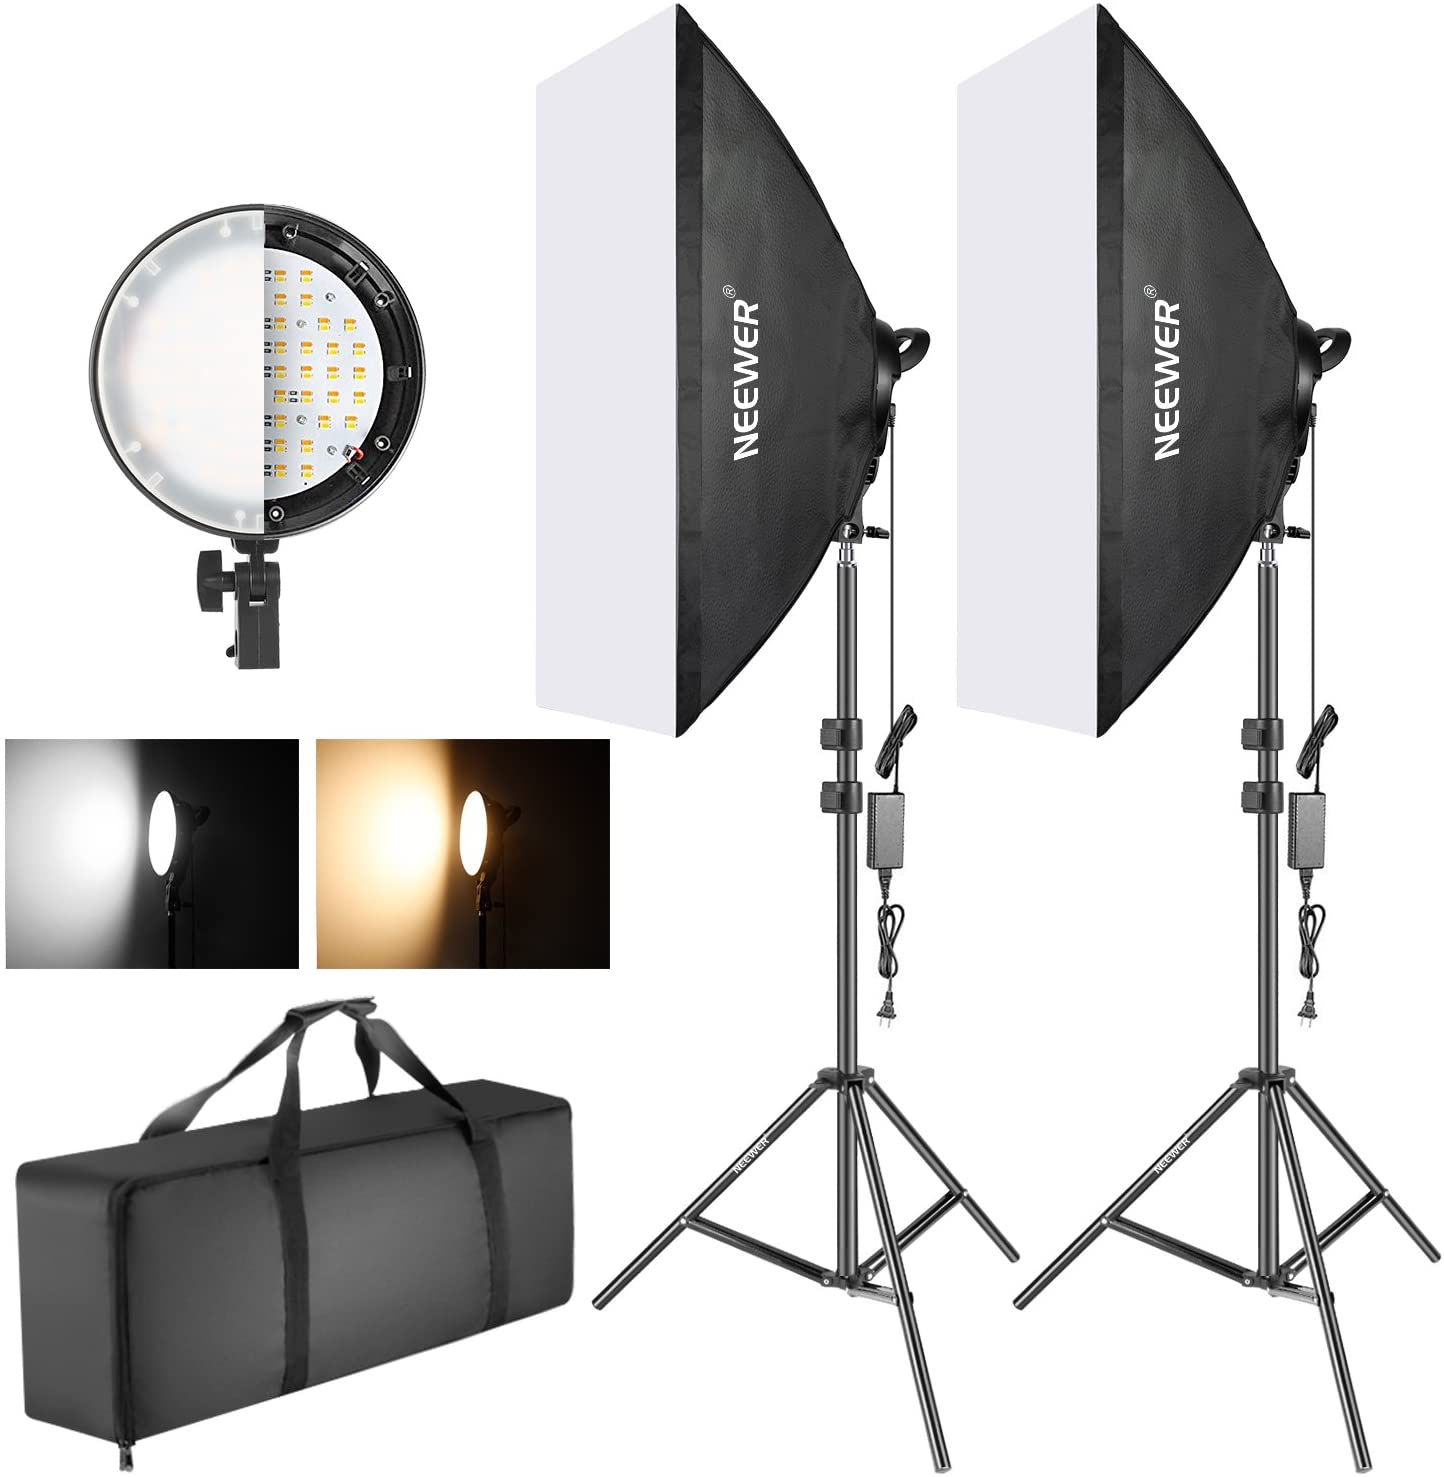
The Neewer 24” X 24″ Speedlite, Studio Flash, Speedlight, and Umbrella Softbox connected to a Neewer Swivel Light Stand Bracket with Umbrella Holder is light enough to not overwhelm the flex arm bracket that I have been using to mount my lights. The 24” X 24″ softbox gives me a large enough light dispersion and because of light is being bounced off the silver interior of the softbox I get an even softening of the light.
If I still want to do a more traditional 3 point system with a background or do a green screen I have also acquired some pop-up backgrounds that I can add directly behind me in just a couple of minutes.
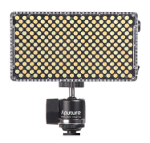
Aputure Al-F7
So if I were to start from scratch today what would I get? I would still purchase 3 lights that are required for a 3 point lighting system but I wouldn’t just buy a kit. The first kit I purchased several years ago worked out well but it really did limit my options and I found myself shifting my set up to the constraints of the equipment. The power and control of LED lighting are simply amazing and are only getting better. The small Aputure AL-F7 LED light that I am using as my key light is powerful enough and the Neewer 24″X24″ softbox is the right size to fit well in my small space. It also is color balanced and I am able to shift it from the warmer 3500K all the way up to 9000K which is cooler and brighter and allows me to take advantage of diffusion to soften the look and create wonderful shadows that lead to a very natural look.
My secondary LED fill light is the ESDDI 176 which is also powerful enough to be a secondary key or fill light but it doesn’t have the range of the Aputure AL-F7 so it is considerably cheaper. Like the Aputure AL-F7 this is a dimmable light and also as a good color balance so it won’t adversely impact your lighting hues. I recommend purchasing two of these inexpensive lights since they can be used as either a background or fill light.

ESDDI-176
As I mentioned I have been experimenting with softboxes and diffusion so the inexpensive smaller softboxes that I have in my workspace pictures above will work but you will need to rig up some velcro to attach these softboxes to the Aputure AL-F7 and ESDDI 176 because the softboxes are actually designed for another LED light. Diffusion material is also a very inexpensive way to soften the light and it doesn’t take much to rig up a light stand or simply a rod to drape the cloth over. While this mini softboxes work relatively well and could be convenient to use in a mobile setting the Neewer 24″X24″ softbox attached to the Neewer Swivel Light Stand Bracket with Umbrella Holder enables me to use the full potential and power of my Aputure AL-F7 light. I get the most balanced light with these two softboxes because it is reflected. I am currently using two of these softboxes with the Aputure AL-F7 as my key light mounted slightly higher and the ESDDI 176 positioned slightly lower as my fill.
Even though I have mounted my key and fill light to the walls using studio wall/ceiling mount brackets and flex arms I am still using the light stands that came with my first lighting kit for an assortment of purposes like suspending my pop-up background or holding a reflector panel. You can pick up a pair of inexpensive Amazon Basics Light Stands for under $25. These are not the most robust stands but if you aren’t going to setting them up and taking them down on a daily basis these will work quite well if you are careful when you use them. If you expect to be using your equipment in a mobile setting you can always purchase more robust and expensive equipment. Or if you have the time you can scour Craigslist and pick up great deals on slightly used equipment and can often find higher quality equipment on sale for a fraction of the retail price.
The last part of this move to the new more compressed workspace and video setup is dealing with power. The lights that I am using all us the Sony NP-F batteries. These are industry standard rechargeable batteries that have been used by professional photographers and videographers for many years. The NP-F batteries come in a variety of charge capacities and since LED lights draw very little current, you can power an LED light for a considerable time with these batteries. The battery power also enables me to use these lights in a variety of settings where power may not be available. Both the Aputure AL-F7 and the ESDDI 176 can also be powered via a charger or in the case of the Aputure a USB C cable which means plug into a stand USB charging adapter or you can also use an assortment of portable battery bricks.
If you want to get the most bang for your buck, want to set up lighting that is not only semi-permanent but still flexible, and can be used in a very small space then you will want to consider the following list. Even if you don’t have a small space the power of the Aputure AL-F7 light will work in bigger spaces without having to upgrade to a larger Aputure LED panel like the Aputure Amaran AL-528 which is more costly.
If you don’t want to mix and match and buy all the components separately I have noticed that Neewer has released a Photography Bi-color Dimmable LED Softbox Lighting kit that includes two dimmable LED lights, softboxes, and stands for approximately $160 CDN or less than $100 for a similar system in the US so this could a great way to get a basic two light LED kit.
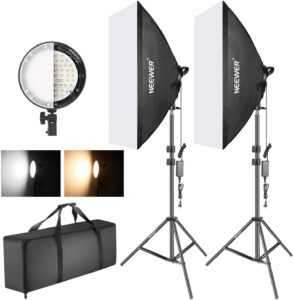
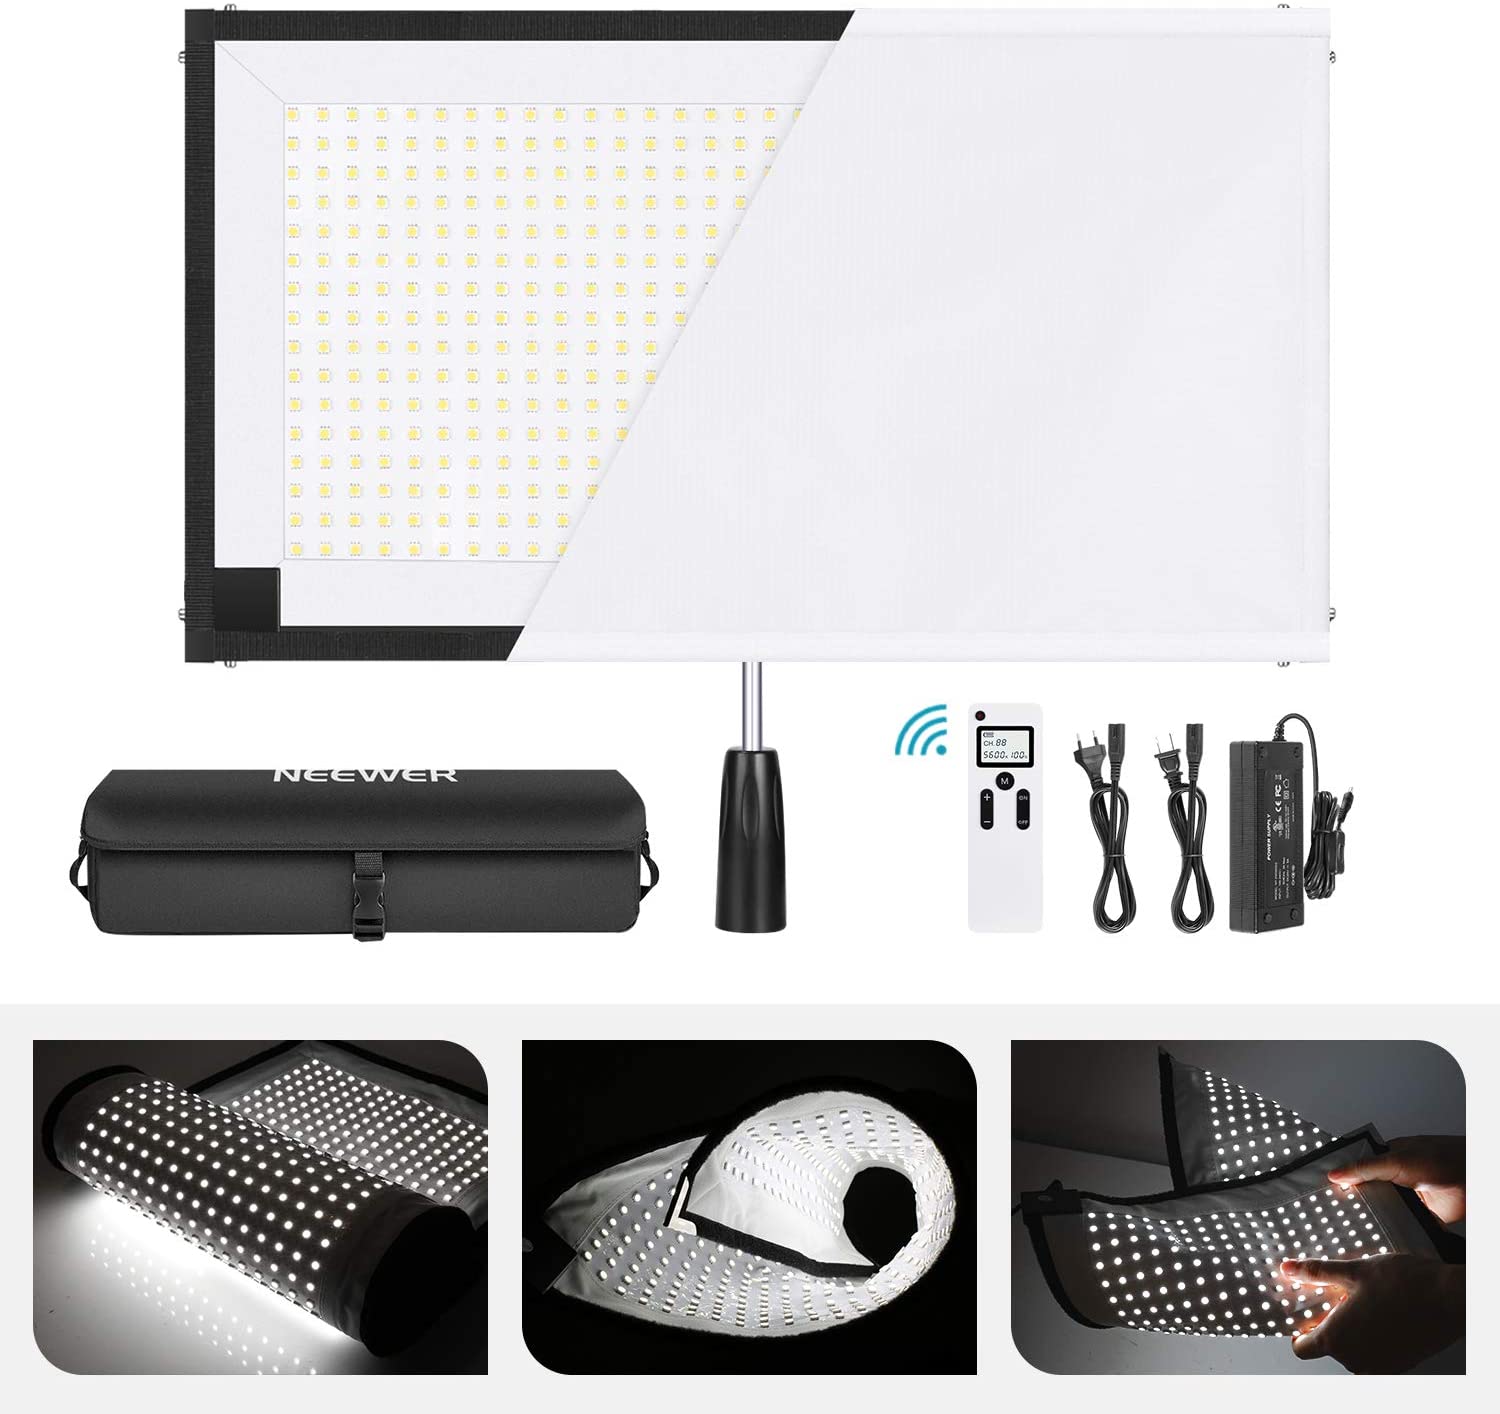
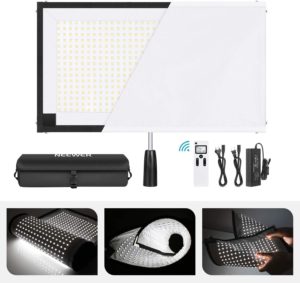
A few months back I watched the DSLR Video Shooter video Entire Youtube Studio Setup ON ONE DESK! and as a result of seeing this setup, I incorporated a new mounting system and will be exploring the Neewer’s Rollable 30x53cm Flexible LED Light Panel Mats in my continual pursuit of reducing the size of my video recording space.
LED Lighting List:
Key Light – Aputure AL-F7 Or Aputure Amaran AL-528 (if you need the power for a larger space)
Fill & Background/Rim Light – ESDDI 176
Sony NP-F Batteries & Charger – DSTE 2x NP-F750 Battery & Charger
Light stands – Amazon Basics Light Stands
Full-size Softbox – Neewer 24″X24″ softbox
Light bracket & Umbrella holder – Neewer Swivel Light Stand Bracket with Umbrella Holder
Mini Softbox – Neewer Collapsible Diffuser Mini Softbox
Diffusion Silk – Neewer 2 Yard x 60 Inch/1.8M x 1.5M Nylon Silk White Seamless Diffusion Fabric
PopUp Background – Neewer Black/White Double-Side Pop-Out Muslin Backdrop
Pop-Out Backdrop Stand – 7’6″ Pop Out Muslin Backdrop & Reflector Clip Stand Kit
USB C Cable – AmazonBasics USB Type-C to USB-A 2.0 Male Cable – 9 Feet (2.7 Meters) – Black
Wall Mounting Options
Flex Arms – Vidpro Flex Arm
Wall/Ceiling Mounts Neewer® Photography Photo Studio Video Wall Ceiling Mount
Dwayne’s DIY Video Setup Series
Dwayne’s DIY Video Setup – Part 1 Teleprompter & Tripod
Dwayne’s DIY Video Setup – Part 2 Lighting & Background
Dwayne’s DIY Video Setup – Part 3 LED Lighting Update
Dwayne’s DIY Video Setup – Part 4 Audio
Revised July 29, 2020